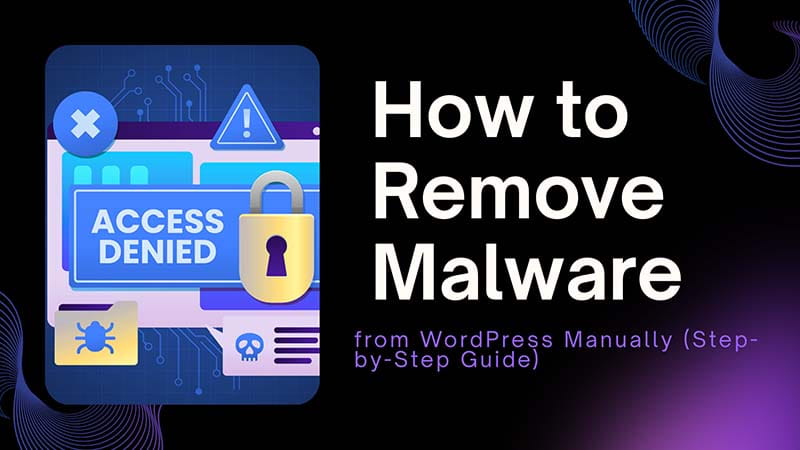
WordPress malware is basically any kind of malicious code that hackers insert inside the WordPress core files, plugins, themes, or databases in order to damage, exploit, or misuse a website. At the same time, WordPress remains the most popular CMS worldwide, but it is particularly vulnerable to being attacked by automated bots and hackers.
Malware may quietly harm your website in various ways, such as stealing data, redirecting traffic, injecting spam links, or even causing search engines to blacklist your domain. A good number of website owners continue to be oblivious to an infection until they notice a drop in traffic or receive a suspension notice from their hosting providers.
Who This Guide Is For
This guide may help WordPress website owners, bloggers, developers, freelancers, and agencies. It explains a clear and plugin-free method of malware elimination. If your website has started acting strangely, e.g. by redirecting to other sites, SEO spam, Google warnings, or showing unusual content, this self-help manual will lead you through it with understandable instructions.
Besides, the guide can serve as a reference model for developers and agencies to gain insights into hackers’ actions and their clients’ sites’ protection from infection relapse.
Understanding WordPress Malware
WordPress malware is malicious code that can be secretly placed into your website files, databases, or server settings. Cybercriminals use malware for many purposes, such as SEO spam, malicious redirections, phishing scams, stealing data, and creating backdoor entries that enable them to get access once again even after you have cleaned up. In most cases, malware conceals itself in the theme files, plugins, media uploads, or core WordPress files and is crafted to be invisible for an extended time.
It is crucial to comprehend the nature and whereabouts of malware prior to the cleaning process. Manual elimination of the threat guarantees that no concealed malicious codes are left behind and that your site is in a pristine and safe state. Besides, the risk of ongoing attacks resulting in the devaluation of both the website and its search engine rankings is minimal.
Precautions Before Starting Manual Cleanup
A manual malware removal necessitates careful thinking and strategizing. Errors might lead to situations where you inadvertently lose your data forever, experience a period of no service, or even end up getting infected again.
So, please, make sure that you have done the below-listed things before you start. You must never delete files without having a trustworthy backup. Do not Maintenance that were made after the time of infection, since they might contain malware again.
Stay away from nulled or pirated Backup or themes, as they usually have secret backdoors. Always be in maintenance mode when cleaning up to avoid the exposure of malicious content to visitors and search engines. A clear workflow and knowing what each step involves minimizes the risk and makes the cleanup successful.
Step 1: Put Your WordPress Site in Maintenance Mode
One of the initial things you have got to do when doing manual malware removal is to put your website into maintenance mode. This keeps users away from the infected pages and also stops the search engines from indexing the malicious content, which in turn limits SEO damage.
Besides that, it also stops malware from running while you are cleaning the site. With the help of a small plugin or by just creating a .maintenance file in your root directory, you can easily put your site into maintenance mode.
Doing so will give you a safe place to carry out your work, and the whole process will be free from complications caused by your further actions.
Step 2: Create a Full Website Backup
It is very important to create a complete backup of your site before making any changes to it. Sometimes, the backups that are infected can also come handy as you can use them for checking which files have been compromised.
A full backup must consist of all the WordPress files, the whole MySQL database, and the wp-config.php file. Keep your backups safe in places other than your hosting account; for example, you can save them on the local storage or cloud storage so that you can get the data even if the server is compromised.
Backups not only help you in restoring the data that you have accidentally deleted but also give you a good basis for comparison during the cleaning process.
Step 3: Scan WordPress Files for Malware
Scanning is a way that can help detect infected files as well as entry points that have been used by attackers. Although security plugins are capable of detecting a majority of threats, coming across malware through manual inspection is at least equally important for you to be able to find hidden or obfuscated code.
Check any PHP file that has been modified recently, an unknown folder in the wp-content directory, and a file that carries an encoded or unreadable script, such as base64 decoding or the eval function. Thorough scanning not only helps you find the malware that is visible but also the one that is hidden, before you can take the step of deleting your files.
Step 4: Delete Infected and Unused Plugins & Themes
Usually plugins and themes are used to spread malware. Get rid of all unused or old plugin and theme versions since they can be easily exploited. You should never manually disinfect infected plugins; rather, you should delete them entirely and then install official versions again if it is necessary.
Stay away from pirated software at all costs because most of the time it contains secret backdoors that enable hackers to infect your site again. Making sure that you have only trusted and updated plugins installed means minimizing the likelihood of attacks in the future.
Step 5: Replace Core WordPress Files
Attackers often change key WordPress files to ensure they can infect your site again. Replacing these files gives your site a clean start. Download a fresh copy of WordPress from the official source and replace the wp-admin and wp-includes directories.
Don’t overwrite wp-content, since it holds your themes, plugins, and uploads. This step removes any malicious code from core files while keeping your website’s content safe.
Step 6: Inspect and Clean wp-config.php
The wp-config.php file is a main target for attackers because it has database credentials and other critical configurations. Carefully check it for suspicious require or include statements, unknown external URLs, or unexpected redirects.
It’s important to remove any harmful code from wp-config.php to stop unauthorized database access and keep your Security Plugins.
Step 7: Manually Clean the WordPress Database
Malware often hides in the database to survive file cleanup. Inspect important tables like wp_posts, wp_options, and wp_users using phpMyAdmin or another database client. Remove spam links, injected scripts, and encoded strings that do not belong.
Database cleanup ensures that hidden malware does not continue executing and provides a fully secure environment for your content and functionality.
Step 8: Remove Backdoors and Hidden PHP Files
Backdoors let attackers regain access after you clean up. Look for files with random names, PHP files in the uploads folders, or files with dangerous functions like eval(), exec(), or shell_exec(). Removing these files is vital to prevent reinfection.
Thoroughly searching for hidden backdoors makes sure your manual cleanup is complete and effective.
Step 9: Change All Access Credentials
After cleaning your website, reset all access credentials right away. Update WordPress admin passwords, FTP/SFTP accounts, hosting control panel logins, and database passwords.
Use long, unique passwords and a secure password manager. This step keeps attackers from getting back in with stolen credentials.
Step 10: Re-Scan, Test & Request Google Review
Once cleanup is finished, run multiple malware scans to ensure the site is clean. Test all forms, pages, and functions to confirm everything is working. If your website was blacklisted or flagged by Google, request a review through Google Search Console. This action helps restore your search visibility and reassures users that your website is safe.
Step 11: Secure WordPress to Prevent Reinfection
Manual malware removal alone isn’t enough. Improve your website’s security by installing a firewall, enabling two-factor authentication, disabling XML-RPC if you don’t need it, limiting login attempts, and setting correct file permissions.
Regular security audits, updates, and monitoring will help prevent future attacks and keep your website safe.
Common Mistakes During Manual Malware Removal
Common mistakes include cleaning files but leaving the database unchanged, restoring infected backups, keeping unused plugins installed, and not updating passwords. Being aware of these errors ensures a thorough and lasting cleanup.
When Manual Malware Removal Is Not Recommended
Manual removal may not work well if your site keeps getting reinfected, if the server itself is compromised, or if you manage a large business or eCommerce site. In these cases, professional malware removal services are safer and more efficient.
Frequently Asked Questions (FAQ)
Manual WordPress malware removal is safe if proper backups and scanning are performed. Cleanup typically takes one to four hours depending on severity. Malware can return if backdoors or vulnerabilities are left unresolved.